Installation Instructions
Step 1
Thoroughly clean the pipe where the clamp will be installed.
Step 2
If conditions permit, place a reference mark on the pipe a measured distance from the center of the break or damaged area.
Step 3
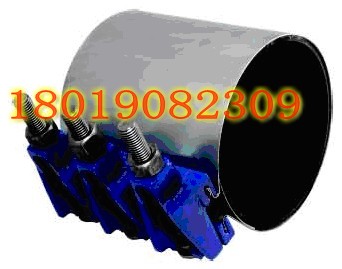
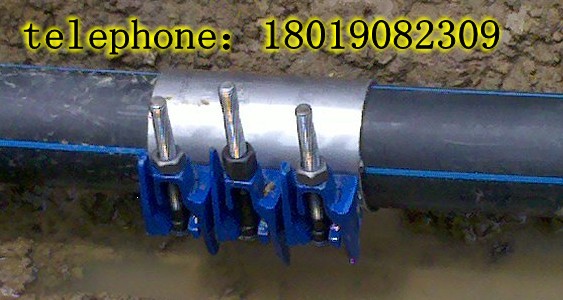
Place the clamp around the pipe, centered over the break or damaged area, with the gasket flap at the top.
Step 4
Tuck the gasket flap in place and mesh the lug fingers. Engage the centermost bolt(s) in the drop lugs and tighten finger tight.
(Note: The clamp may be assembled beside the break or damaged area and slid into position, if the pipe surface is wet or has been lubricated.)
Step 5
Rotate the clamp to insure proper seating of the gasket, and position the bolts and nuts for convenient tightening.
Step 6
Tighten the bolts working from the center outward. Completely tightening the center bolt will usually stop or sufficiently retard the leakage to simplify completion of the installation.
Step 7
When bolts have been tightened sufficiently to stop the leakage, measure from the reference mark (Instruction 2) to the center of the clamp to see if the clamp is properly positioned over the break or damaged area. Loosen the bolts and reposition the clamp if necessary.
Step 8
Recheck the tightness, and torque the bolts as evenly as possible.